

Quickstart
Install TrueClara on one production Next.js app, connect the route graph, and run your first agent-shipped experiment to a verdict.
This path gets a Next.js app from no signal to a working TrueClara project — and on to your first reward verdict. It mirrors the product model: one project represents one runtime environment, with the parser, runtime SDK, and deploy uploads scoping the experiments that run on top.
Route graph
Upload the static graph from @trueclara/parser so Map, route matching, deploy diffs, and setup health have a source of truth.
Runtime events
Install @trueclara/next to send route and transition counters after your app has analytics consent.
Deploy records
Upload each production release — the deploy is the trigger that starts the experiment, registered against the reward API.
Before you start
- A TrueClara account.
- A Next.js app using the App Router or Pages Router.
- Permission to install dependencies and edit the app shell.
- A CI environment that can store
TRUECLARA_PROJECT_KEYas a secret.
Use separate TrueClara projects for production and staging. Do not model environments inside one project.
1. Create a project
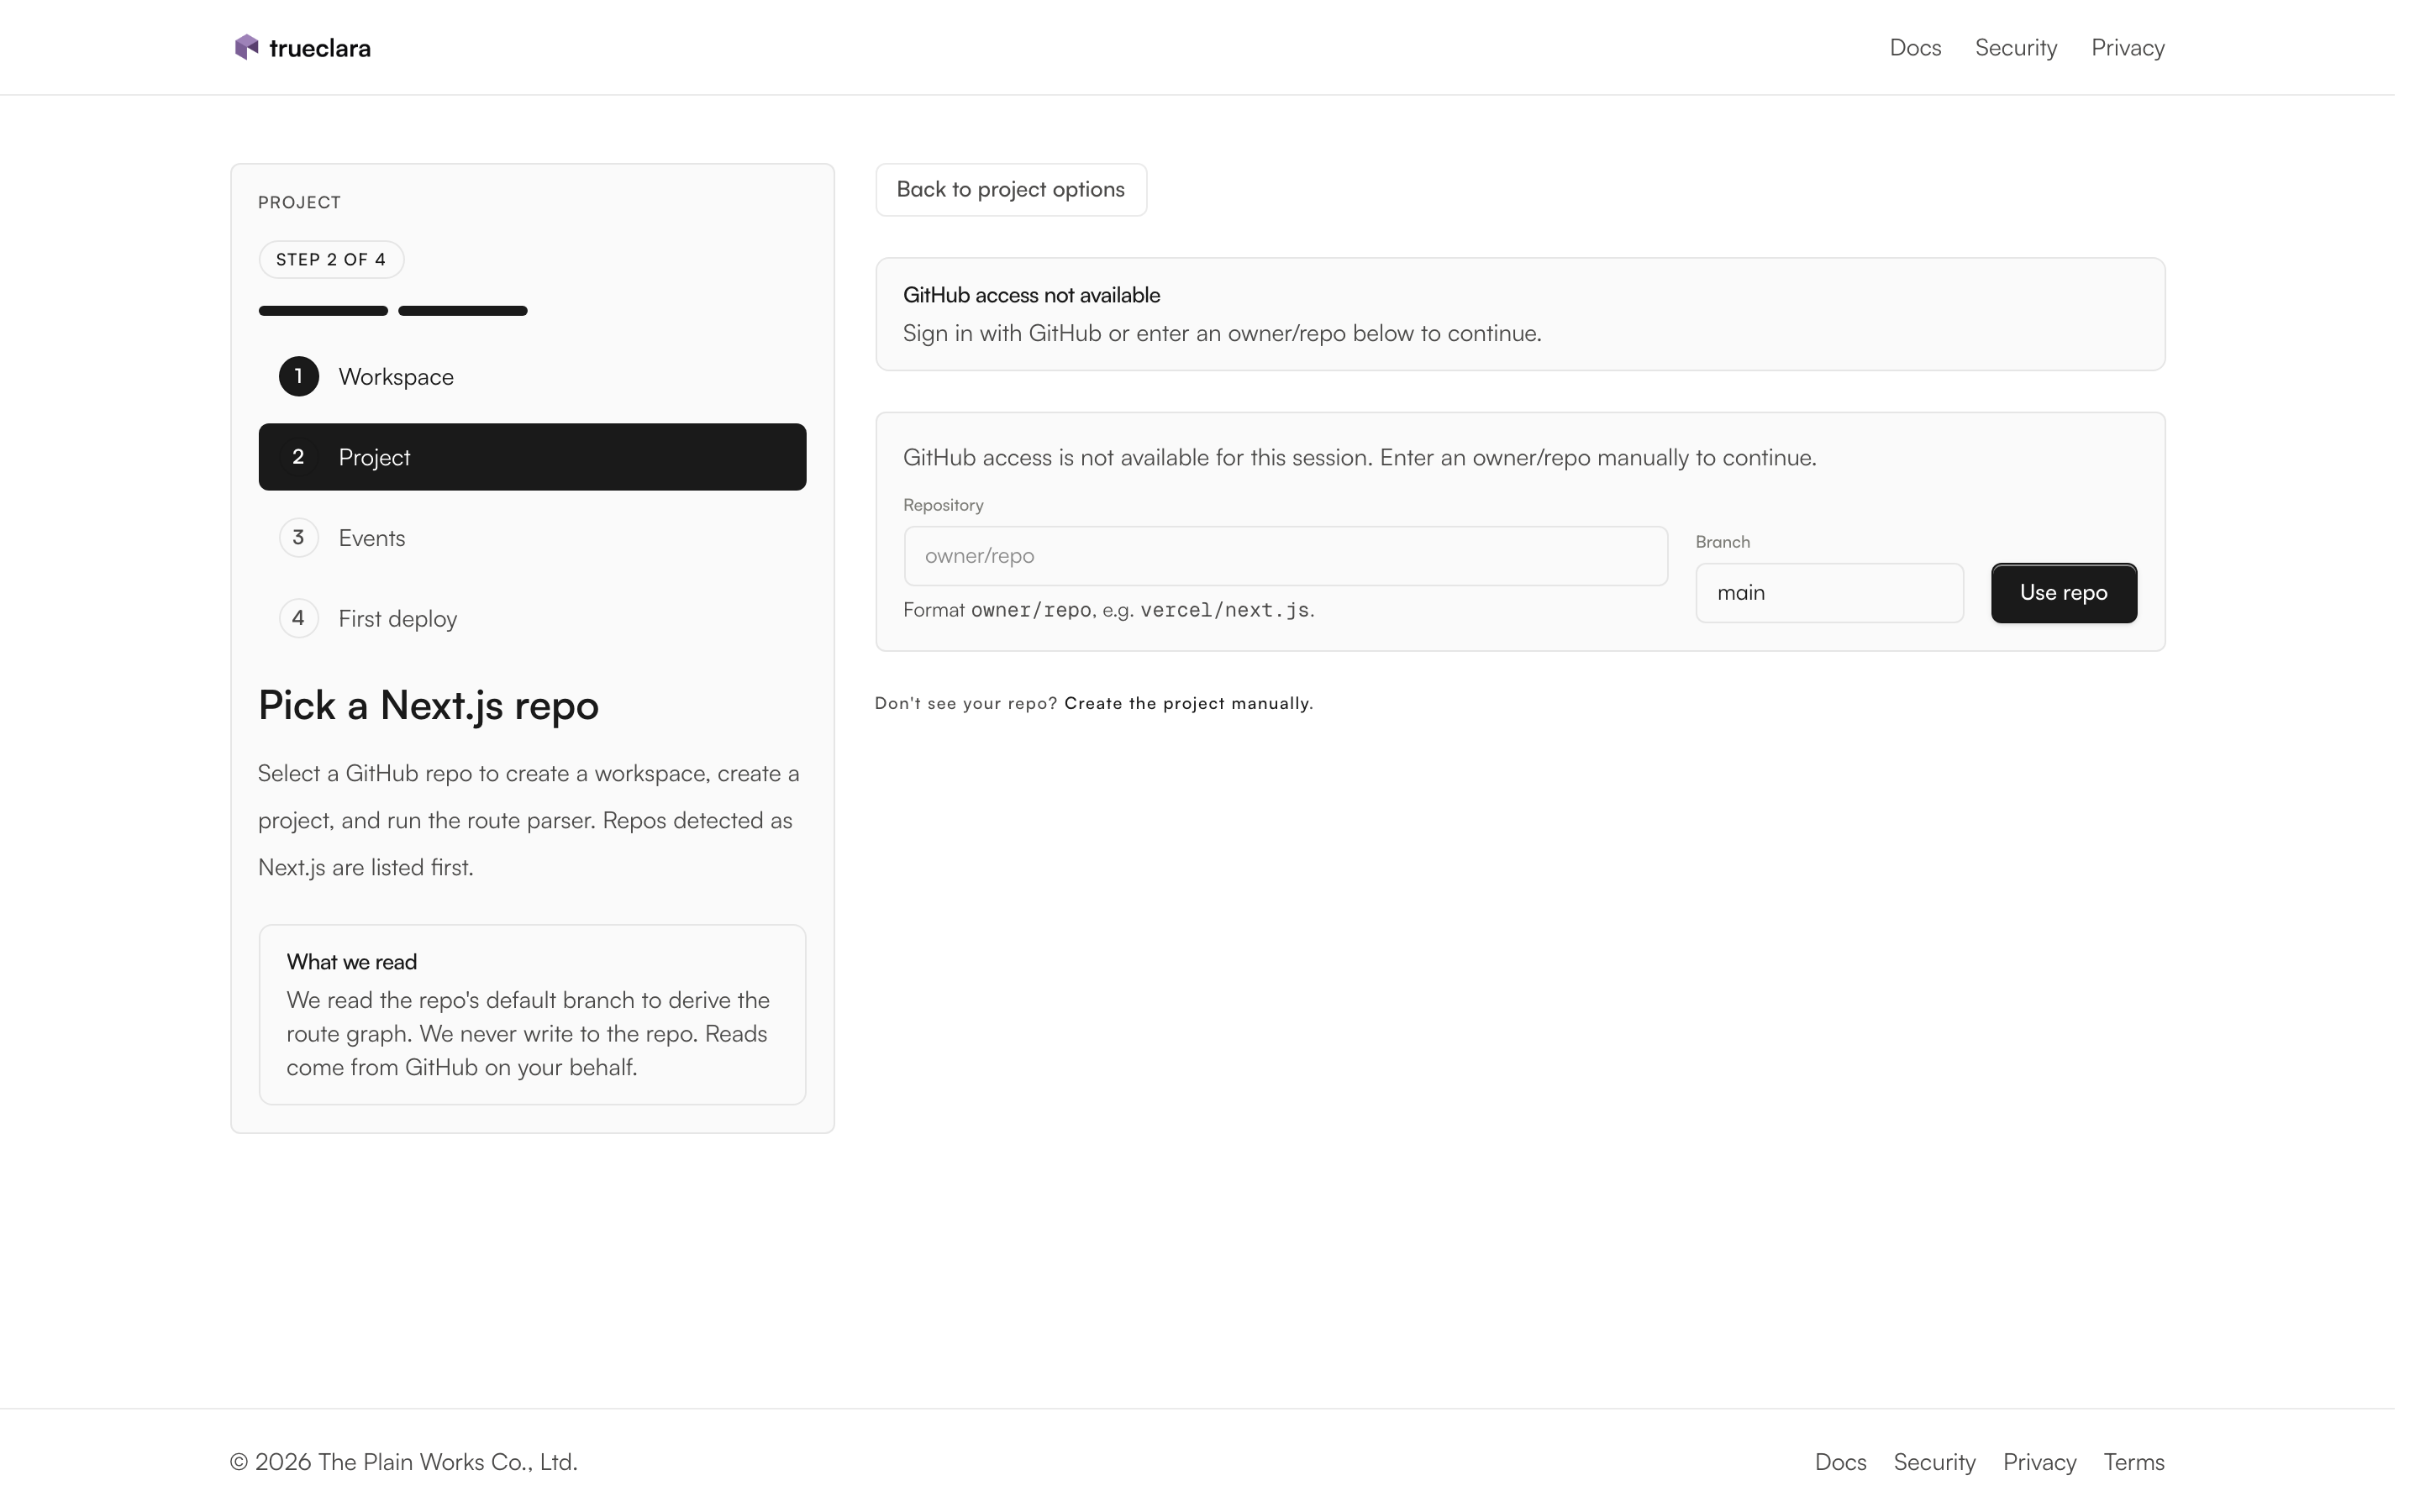
Open the app onboarding flow and choose the path that matches your repository.
- Connect GitHub when the production app is available from the account you are using. TrueClara creates the workspace and project, then starts the parser flow.
- Create manually when the repo is private to another host, when GitHub access is not available, or when you want to wire installation yourself.
The project gives you two different keys:
| Key | Where it belongs | Purpose |
|---|---|---|
NEXT_PUBLIC_TRUECLARA_KEY | Browser runtime | Identifies the project for SDK event delivery. |
TRUECLARA_PROJECT_KEY | CI or server-side secrets | Authenticates graph and deploy uploads. |
2. Install the runtime SDK
From the Next.js app root, run the install command shown in your project setup screen.
NEXT_PUBLIC_TRUECLARA_KEY=<project-public-key> npx @trueclara/installThe installer adds @trueclara/next, writes the public key, and wraps the app with TrueClaraProvider. If it cannot safely edit your layout, it prints the manual provider change.
Manual setup:
import { TrueClaraProvider } from "@trueclara/next";

export default function RootLayout({ children }: { children: React.ReactNode }) {
  return (
    <html lang="en">
      <body>
        <TrueClaraProvider publicKey={process.env.NEXT_PUBLIC_TRUECLARA_KEY!}>
          {children}
        </TrueClaraProvider>
      </body>
    </html>
  );
}
3. Upload the route graph
Run the parser from the app root and upload the full output. Do not reduce it to a list of routes.
npx @trueclara/parser . --pretty -o trueclara-graph.json
curl -X POST https://api.trueclara.com/v1/static-graphs \
  -H "Content-Type: application/json" \
  -H "X-Trueclara-Project-Key: $TRUECLARA_PROJECT_KEY" \
  --data-binary @trueclara-graph.json
The graph powers route matching, Map, setup health, deploy diffs, and experiment scoping.
4. Add deploy attribution
Upload a deploy record at the same boundary your team treats as production. The deploy is the trigger: registering it is what starts a randomized canary experiment.
name: trueclara-deploy

on:
  push:
    branches: [main]

jobs:
  upload:
    runs-on: ubuntu-latest
    steps:
      - uses: actions/checkout@v4
        with:
          fetch-depth: 0
      - uses: actions/setup-node@v4
        with:
          node-version: 20
      - run: npx @trueclara/parser . --pretty -o trueclara-graph.json
      - run: node scripts/post-trueclara-deploy.mjs
        env:
          TRUECLARA_PROJECT_KEY: ${{ secrets.TRUECLARA_PROJECT_KEY }}
          TRUECLARA_ENVIRONMENT: production
Create the scripts/post-trueclara-deploy.mjs referenced above — it's a dependency-free Node script that reads your git metadata, diffs the route graph against your last deploy, and posts to /v1/deploys. Copy it from the GitHub Action reference, or download it directly:
curl -fsSL https://trueclara.com/install/post-trueclara-deploy.mjs -o scripts/post-trueclara-deploy.mjsDeploy attribution is what scopes a reward experiment to the release that triggered it. Without it, TrueClara can show traffic and graph health, but it cannot register an experiment against a specific change.
5. Verify setup
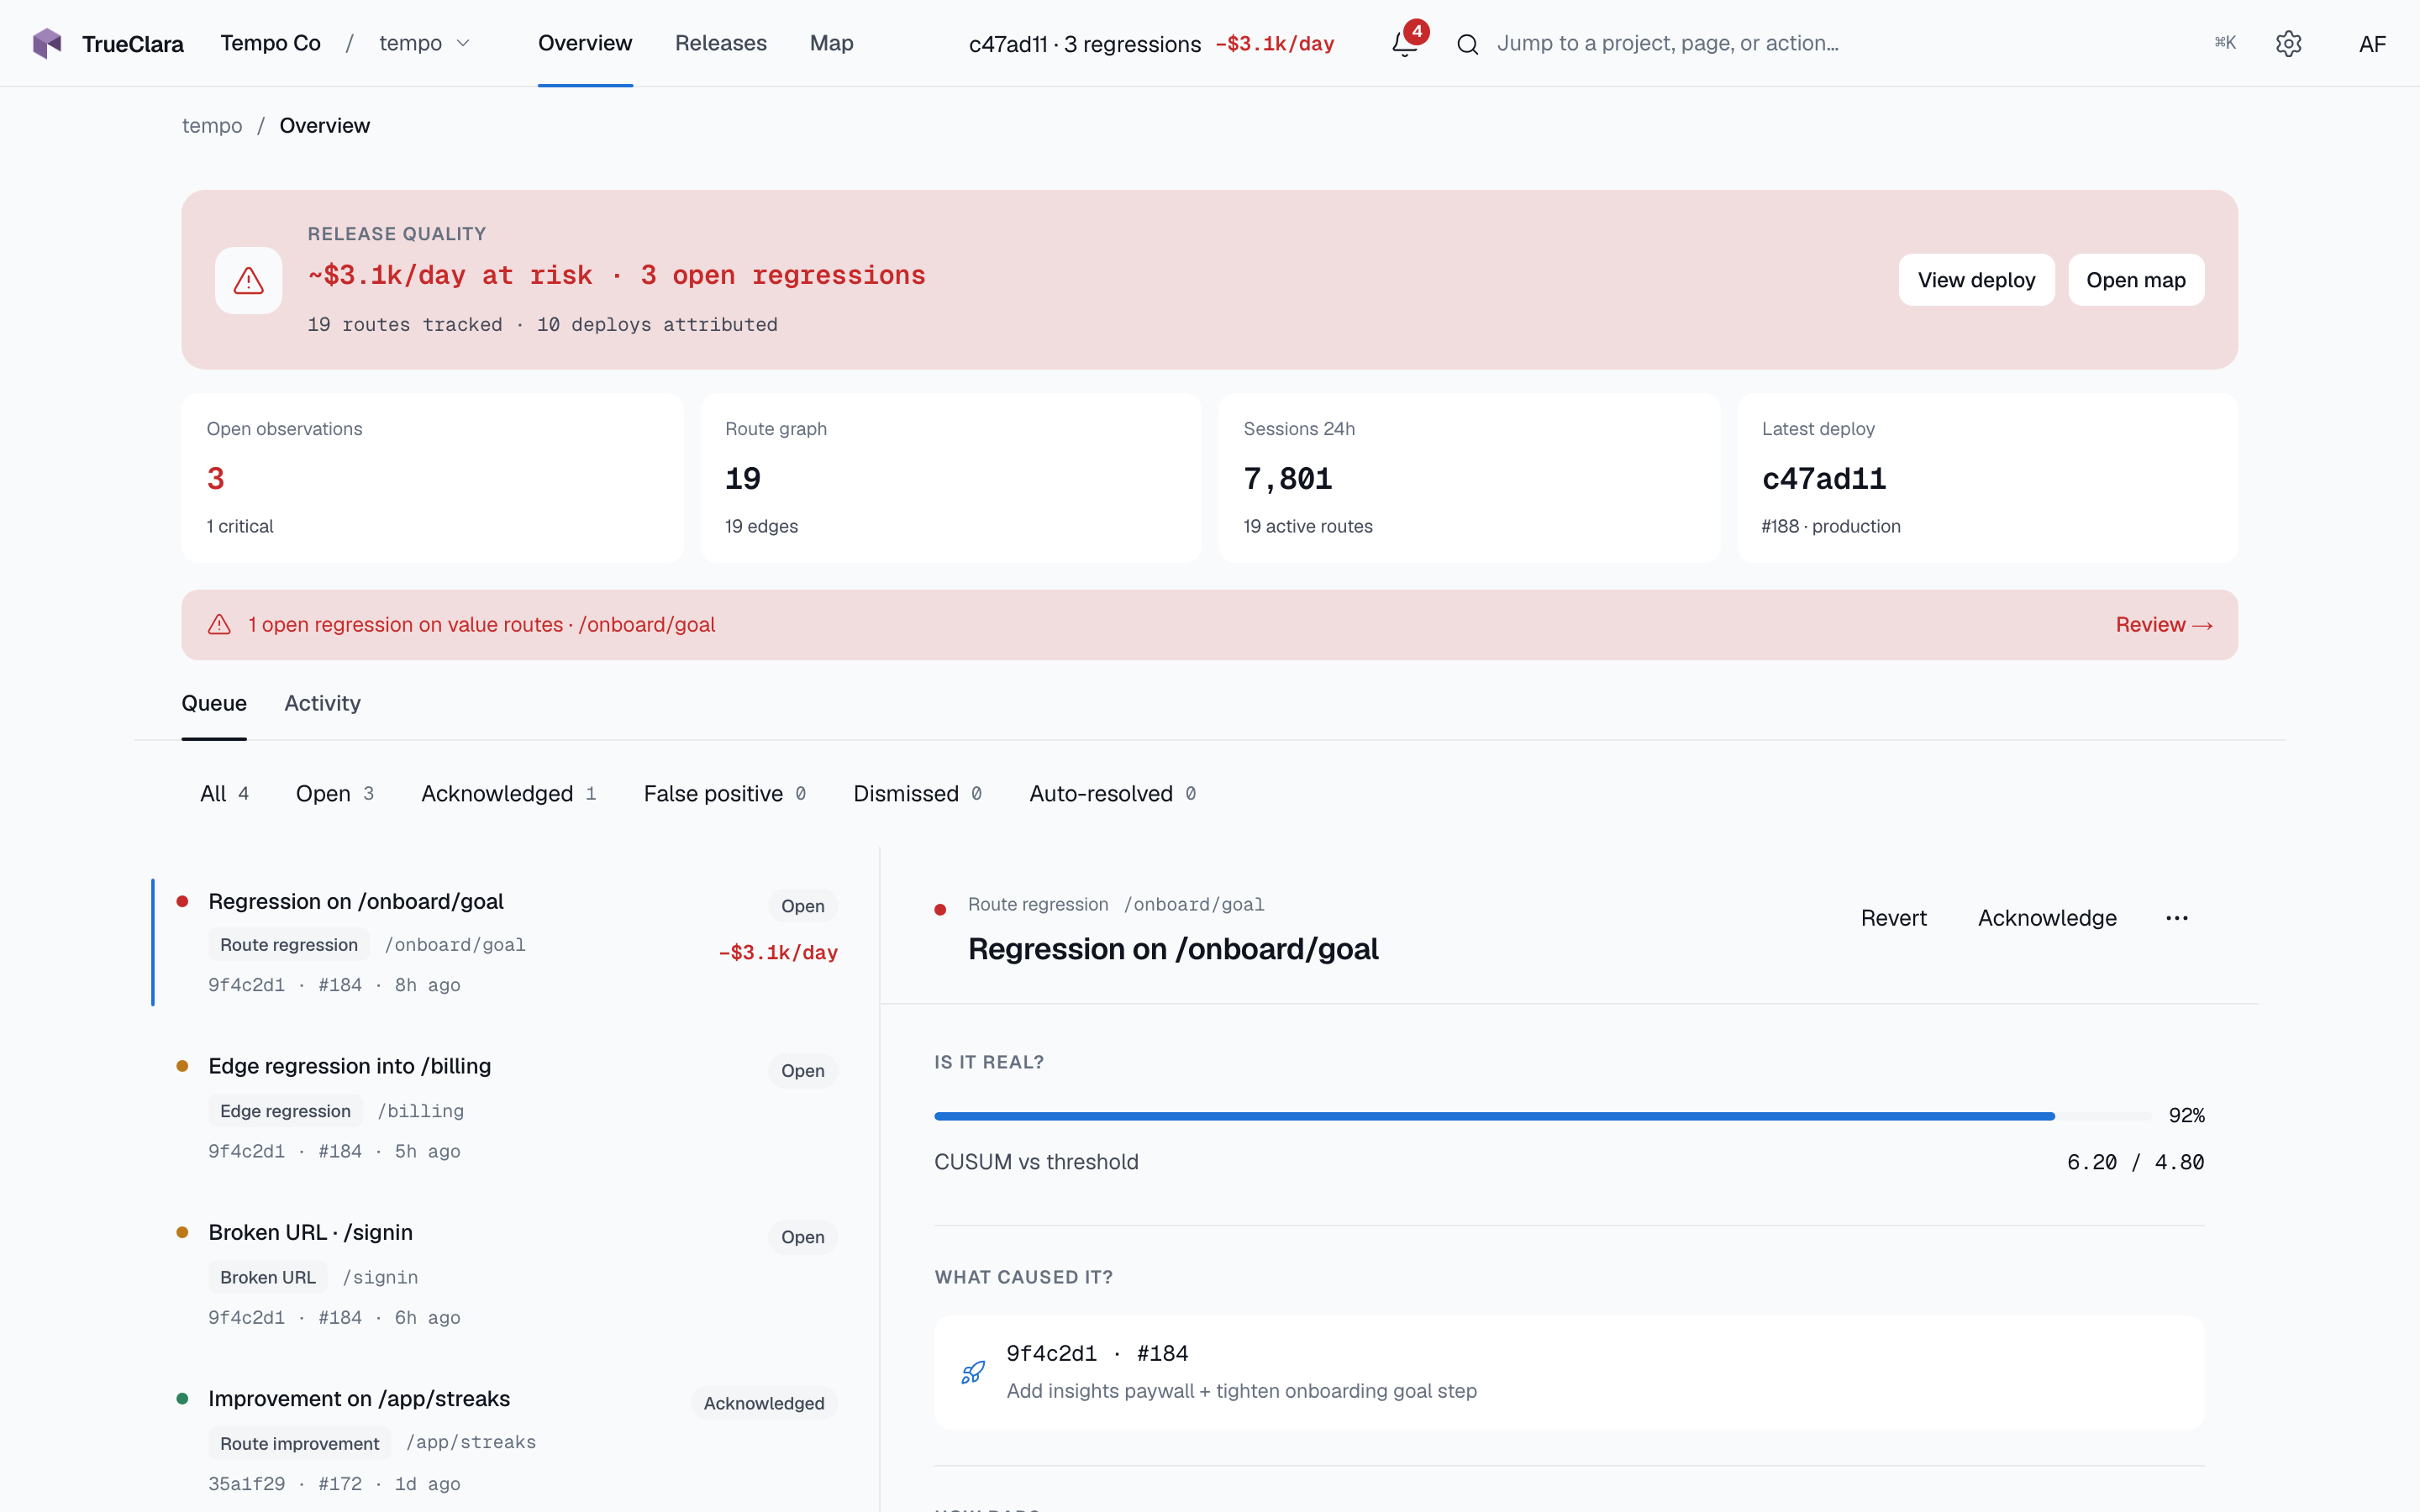
The setup strip should show these checks turning healthy:
Graph received
Map has routes, layouts, and edges from the parser output.
SDK installed
The provider is present in the app shell and uses the public key for this project.
First event received
Runtime counters are arriving after analytics consent permits delivery.
Deploy received
CI uploaded a release with commit metadata and the graph that shipped.
6. Mark value routes
Mark routes that represent product or revenue outcomes, such as signup completion, checkout success, onboarding completion, workspace creation, or upgrade confirmation.
Value routes are experiment targets — the outcome metric a canary measures. A lift on /pricing matters more when it changes whether sessions reach /checkout/success.
7. Run your first experiment
Register your next agent-shipped change as a canary and poll for the verdict.
curl -X POST https://ingest.trueclara.com/v1/reward/register \
  -H "Content-Type: application/json" \
  -H "x-trueclara-project-key: $TRUECLARA_PROJECT_KEY" \
  --data '{
    "deploy_id": "dep_abc123",
    "target_metric": "checkout_conversion"
  }'
The response returns an experiment_id. Poll GET /v1/reward/{experiment_id} (or use the MCP server) until power_state.decided is true — the verdict contract returns keep, rollback, iterate, or abstain. See the Reward API + MCP reference for the full contract, cadence, and abstention semantics.
Next
- Read How TrueClara works for the end-to-end reward loop.
- Read the Reward API + MCP reference for the verdict contract and MCP tools.
- Read Configure value routes before trusting experiment priority.
- Use Troubleshooting when graph, runtime, or deploy checks stay unhealthy.